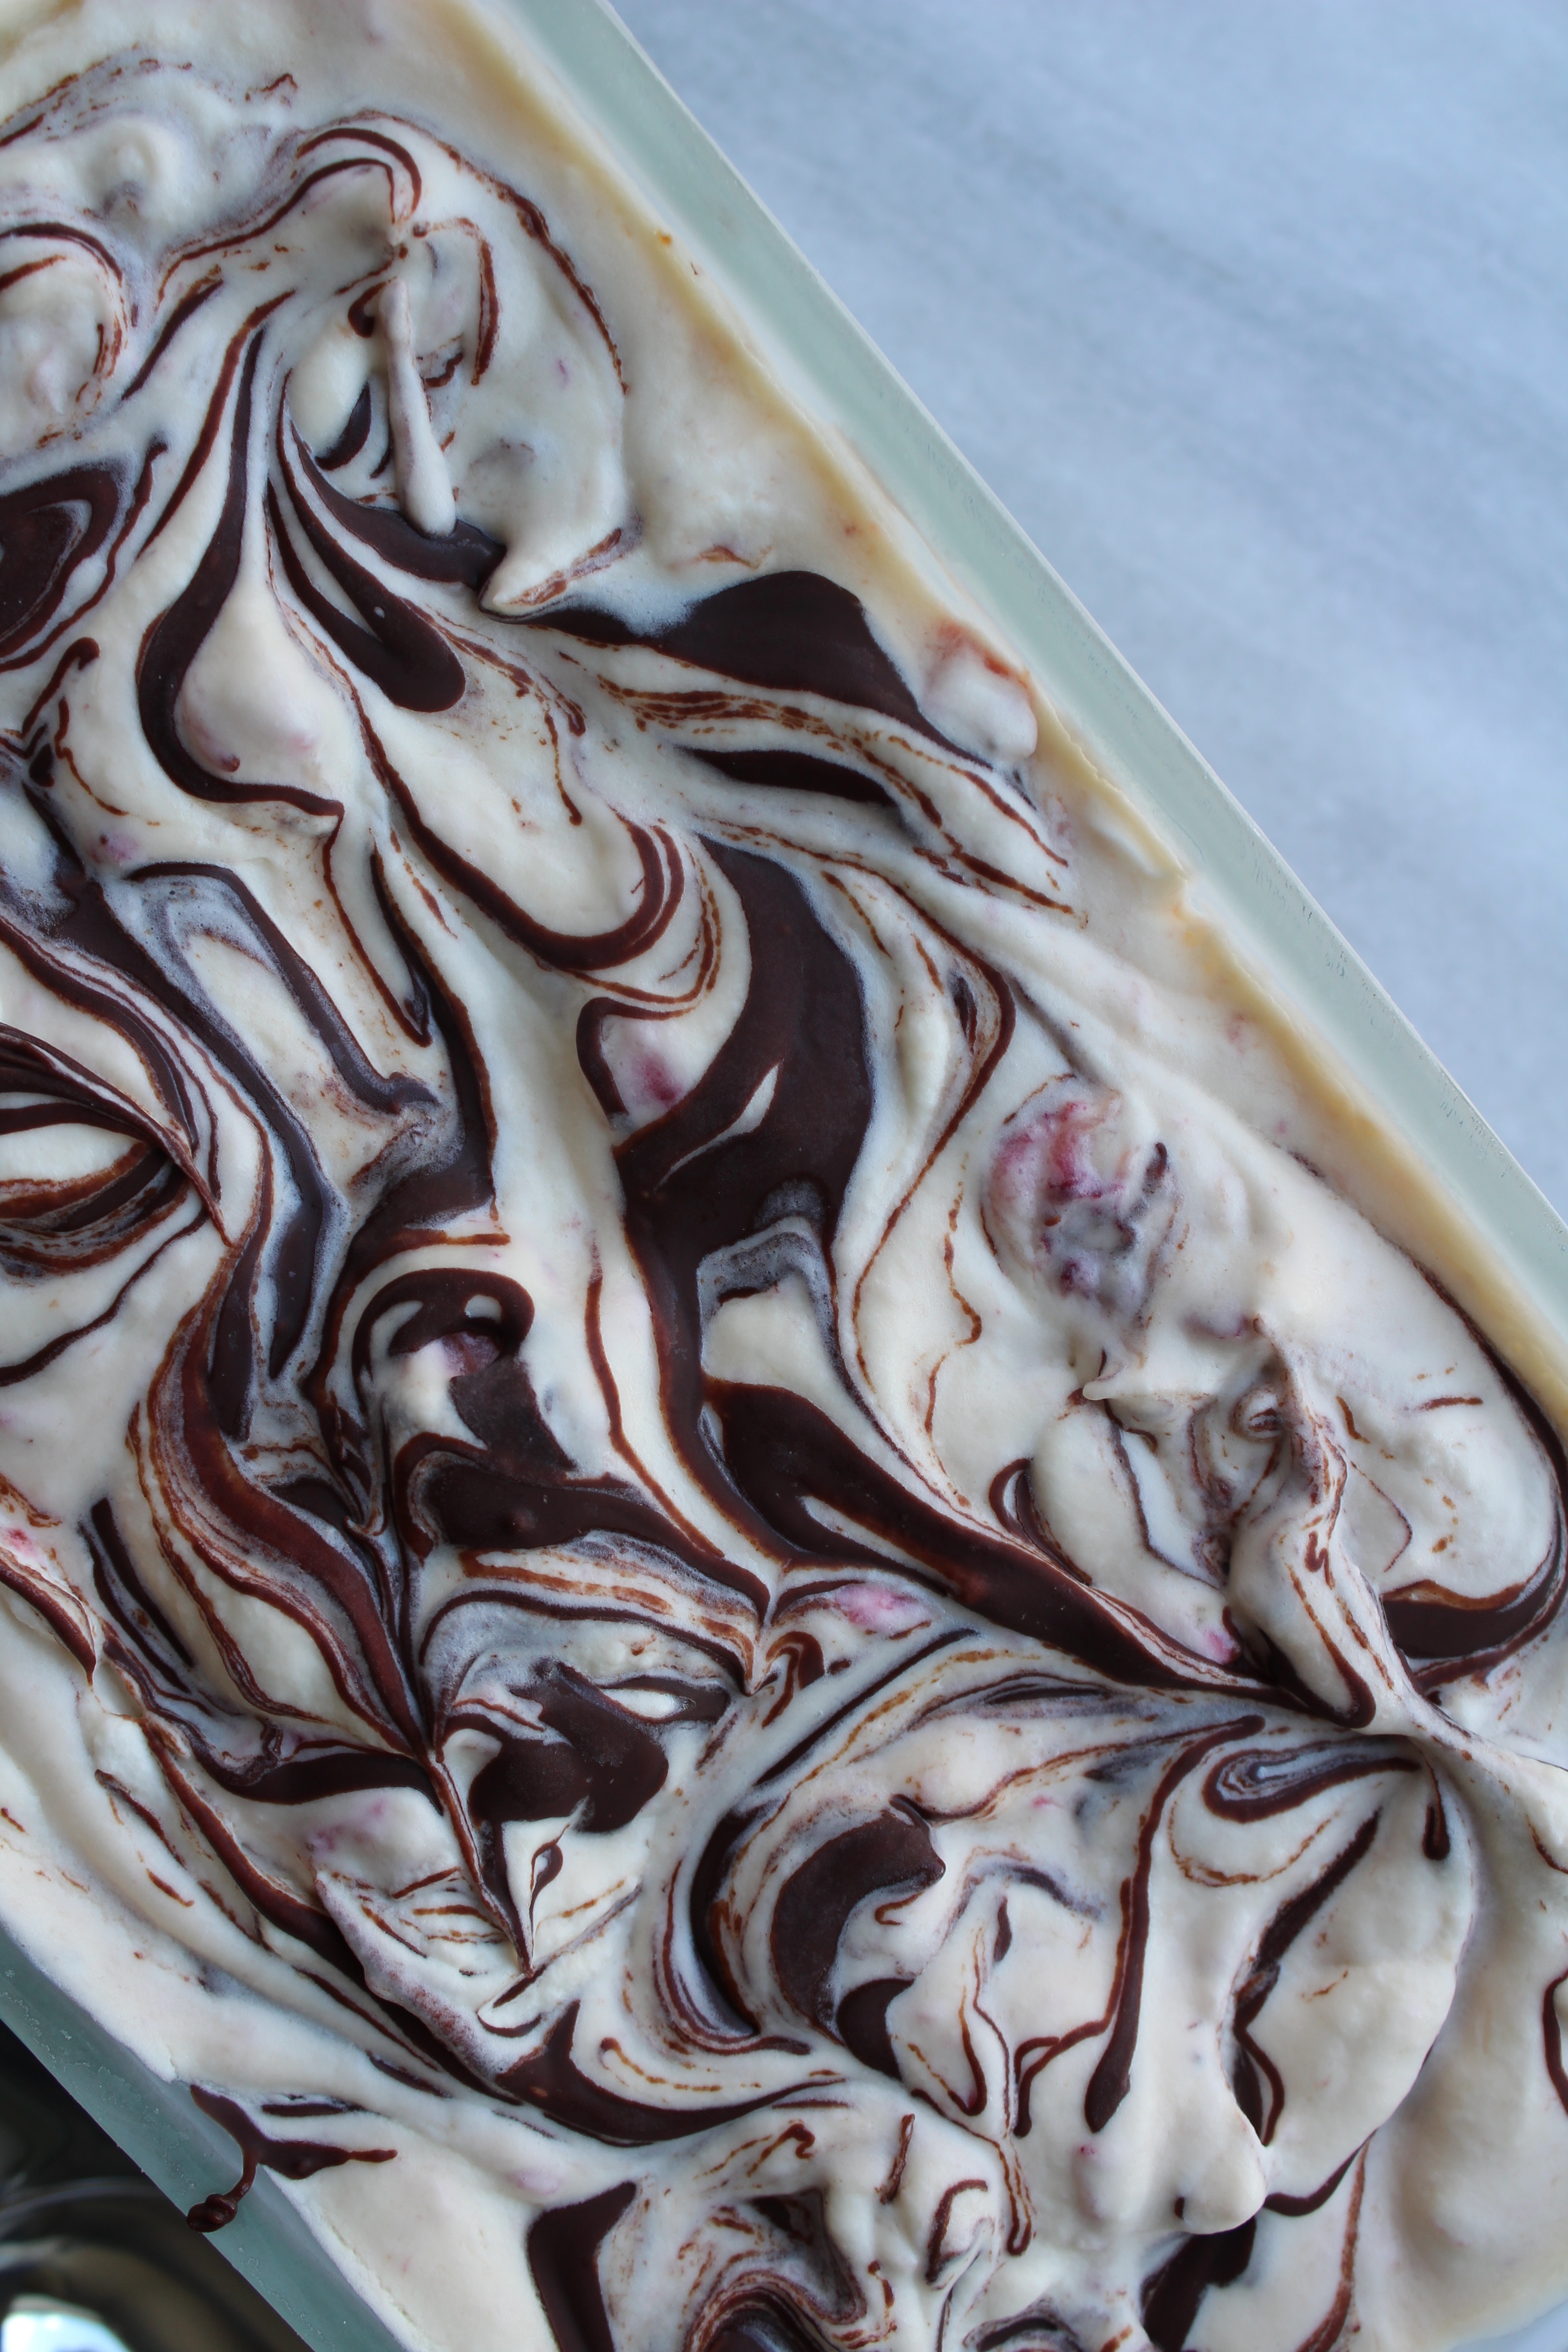
I gave you a smoothie and salad last week - we all deserve some homemade ice cream today. Plus we only have about 6 weeks left of summer, which means pumpkin spice will be pouring out of our faces soon enough.
Not that pumpkin anything makes me stop eating ice cream - I'm certainly not above freezing in the name of some good mint chocolate chip. I might even argue that summer is one of the worst times to eat ice cream because it can be a logistic nightmare. When was the last time you walked down the street eating ice cream on a hot summer day and didn't turn into a sticky toddler?
I can literally FEEL you guys rolling your eyes at me.
It's okay. I made you no-churn ice cream. NO-CHURN GUYS.
I've probably mentioned this before, but I have very limited counter space. However, that has not stopped me from owning numerous kitchen appliances that I probably don't need (looking at you SodaStream) but desperately love (looking at you SodaStream). And then of course I have all the stuff that I actually, truly need like a blender, food processor (this is actually new but I can't remember life without it all of a sudden?), my various coffee-creating things (so very important) and so on.
And while I'm fairly good at talking myself into things even if I don't need them (still looking at you lovingly SodaStream), the ONE thing I actually can't get myself to buy? A ice cream maker!
Which is crazy because I looooove ice cream. And homemade ice cream? The best!
Luckily, now there's a possibility I won't ever need an ice cream maker! Has anyone else tried no-churn ice cream before? I know it's been around for a while, and I now deeply regret holding off for so long.
Aside from the fact that you don't need a whole new gadget for this, the ingredients list is fairly small and the process fairly easy. And it's SO GOOD. Like, obviously it doesn't taste exactly like ice cream but it's really, really close and still so incredibly delicious.
Naturally, I made this one a tiny bit more complicated with the roasting of the strawberries and the chocolate swirl (but who has ever been mad at a chocolate swirl??), but I would say it's still a pretty simple homemade ice cream to put together. And of course, you don't have to make strawberries complicated if you don't want to - experiment with your favorite flavors!
Now go make this no-churn ice cream and decide what new kitchen toy you want to buy in place of an ice cream machine.
Might I suggest a SodaStream?
No churn chocolate-covered strawberry ice cream
- Total Time: 6 hours 45 minutes
- Yield: 2 quarts 1x
Ingredients
- 1 lb strawberries
- 2 tablespoon sugar, divided
- 1 tablespoon grand marnier (optional)
- 1 can sweetened condensed milk
- 2 cups heavy cream
- ½ cup chocolate chips, melted (I used dark chocolate, but you can use your favorite!)
Instructions
- Preheat your oven to 350.
- Cut the tops off and halve the strawberries. Toss half of them with 1 TB of sugar and spread out on a parchment lined baking sheet. Roast for 25 minutes and let cool.
- Meanwhile, mix the rest of the strawberries with the other 1 TB of sugar and grand marnier (if using) and let sit while the rest of the berries roast + cool.
- When the roasted strawberries are cool, mash them slightly and mix with the sweetened condensed milk in a large mixing bowl.
- In a separate bowl beat the whipping cream until just whipped (soft peaks and all, you know). Fold the whipped cream into the milk mixture until just combines. Add the rest of the strawberries and gently fold to incorporate.
- Pout half the mixture into a loaf pan. Add half chocolate and use a butter knife or skewer to swirl together. Top with the rest of the ice cream and chocolate and swirl again.
- Cover with plastic wrap and freeze for at least 6 hours. I like to let this sit out for 10-ish minutes before eating for the best consistency.
Notes
Process adapted from the one and only Martha
In case you're wondering, the reason why I only roast half the strawberries is that I found the roasted mixture gave the dish the strawberry flavor, while the "marinated" ones served as the chunks. When I tried it one way or the other (so either all roasted, or all marinated) I didn't get the flavor I was looking for. A little extra work, but you're worth it!
- Prep Time: 15 minutes
- Cook Time: 6 hours 30 minutes
If you love this recipe, check out these other frozen treats:


Comments
No Comments